This howto will give you an idea on where you can get the IspCP account backup and how to restore your account with IspCP.
1) Backup of account
Daily backups must be enabled for your account by reseller so that you can get daily backups.
- Login with your FTP account
- Switch to backups/ directory
- Download the files stored in this directory
(usually named backup_YYYY_MM_DD.tar.bz2)
2) Restore an account
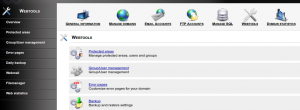
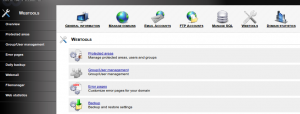
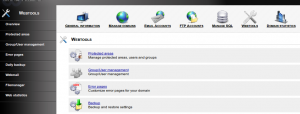
Login to the client control panel of account. Click on “Webtools”
Click on “Daily backup”
Clicking on “Restore” button will restore the account from the latest daily backup on backups/ directory.
This is a howto/tutorial on creating password protected directories with IspCP.
Login to client area of the domain
1) Click on “Webtools”
2) Click on “Group/User management”
click on add user
Use the desired password and username on the respecitive feilds and click on “Add User”
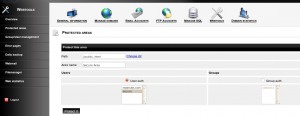
3) Click on “Protected areas”
Click on “Add new protected area”
On Path : you can set the directory which you want to protect
Area name : give a desired area name
Click on “Protect it”
You will be now asked for a login when browsing the selected directory with the url.
This is a tutorial/howto on managing Mysql databases with IsPCP
1) Click on “Manage SQL”
2) Click on “Add Sql Database”
Use a desired database name and if you want to have the user id added with the database name check “Use numeric ID” box and enable the needed option
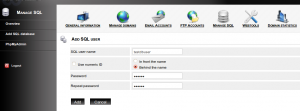
3) Click on “Add SQL user”
4) Managing database with Phpmyadmin
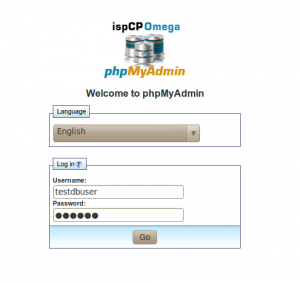
Click on the PhpMyAdmin or you can access it with the url http://admin.yourserver_name.com/pma/
Use database username and password to login to the phpmyadmin
This is a tutorial/howto on using filemanager with IspCP
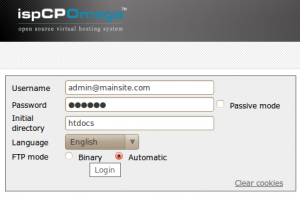
IspCP uses a filemanager called net2ftp, ftp login details are used to login to the file manager.
1) Create a FTP account
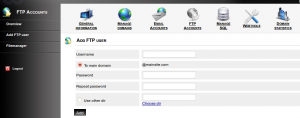
click on “FTP Accounts”
Click on “Add FTP user”
Use desired username and password in the respective fields. If you want to create an account with access to a specific subdirectory not main dir in the account, enable “Use other dir” and chose the dir by clicking on “Choose dir” link.
2) Click on Filemanager
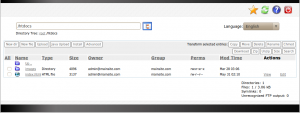
You can also access filemanager with http://admin.your_server.com/tools/filemanager/
Use the FTP account login details you created to login, you can also go directly to a subdirectory by specifying it on “Initial directory”. Click login
This is a tutorial/howto on managing email account with IspCP
Click on “Email Accounts”
1) Add Email account
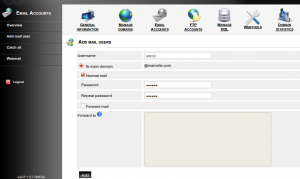
Click on “add mail user”
You can set the email username and password there, then click on add
2) Forward email account
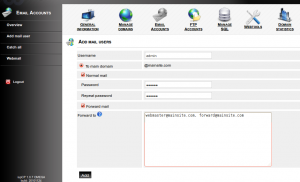
Click on “add mail user”
Set the email username and password on respective fields. Enable “Forward mail” and you can set the email address to which the forwarding must be done on the next box. Multiple email address can be set separated by comma.
Click on add
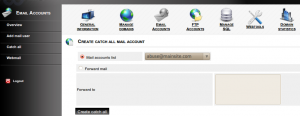
2) Create a catch all email account
Catch all account is an email account that is used to route all the main to non existing email address of a domain.
Click on catch all, you can select email account to set as catch all from the ”
This is a tutorial/howto on managing email account with IspCP
Click on “Email Accounts”
1) Add Email account
Click on “add mail user”
You can set the email username and password there, then click on add
2) Forward email account
Click on “add mail user”
Set the email username and password on respective fields. Enable “Forward mail” and you can set the email address to which the forwarding must be done on the next box. Multiple email address can be set separated by comma.
Click on add
2) Create a catch all email account
Catch all account is an email account that is used to route all the main to non existing email address of a domain.
Click on Catch all. You can select the email address to be set as catch all from the list “Mail accounts list” or set a different on by selecting “
Click on “Create catch all”
Click on webmail to access the webbased email client.
This is a tutorial/howto on adding a subdomain with IspCP
Login to your IspCP control panel as a client
1) Click on “Manage domains” on the top panel
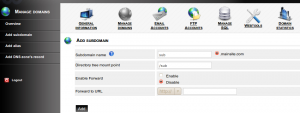
2) Click on add subdomain
* Subdomain name :: Give the subdomain name
* Directory tree mount point :: by default it will be same as subdomain name, you can change it if you want to point the subdomain to another dir
Click on add button at the bottom to add the subdomain
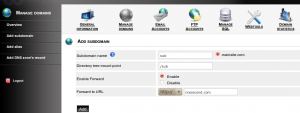
3) Add a redirect / Forwarder for a subdomain
* Subdomain name :: Give the subdomain name
* Enable Forward :: enable it
* Forward to URL :: give the url to which you want to forward the subdomain
Click on add button at the bottom to add the subdomain and create the redirect.
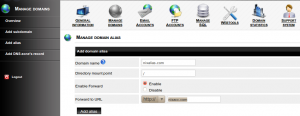
A short tutorial on creating domain alias with IspCP omega. Using Domain alias you will be able to,
- Park a newsite on your main site , ie mainsite.com and newsite.com will give you same content.
- Add a new site to your control panel, ie newsite.com will have separate home directory and will display different content.
- Redirect or forward a new site, ie newsite.com can be forwarded to google.com
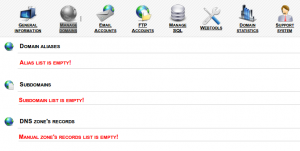
Login to client area of IspCP omega
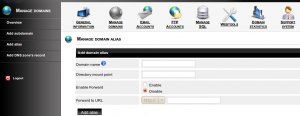
2) Click on “Add alias” on right panel
To Park a domain
* On Domain name feild -add the domain you want to park
* On Directory mount point – /
* Enable Forward – Set as Disable
Click on Add alias button on bottom to park the domain on mainsite.
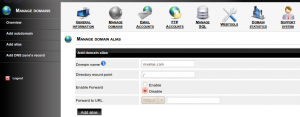
* On Domain name field – The domain you want to add
* On Directory mount point – Enter the domain name
* Enable Forward – Set as Disable
Click on Add alias button on bottom add the new domain, upload contents to /mainsite.com/newsite.com/htdocs/
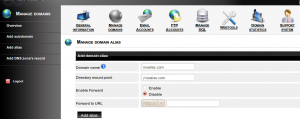
* On Domain name field -add the domain you want to park
* On Directory mount point – /
* Enable Forward – Set as Enable
* Forward to URL – Set the url to which you want to forward
Click Add alias button on bottom to add the Forwarder/Redirect


