
 3
3
Login to the Virtualmin panel using : https:<domain_name>:10000
<Use the login credentials that you received from NixWind>
- Login to Webmin
- Select Virtualmin
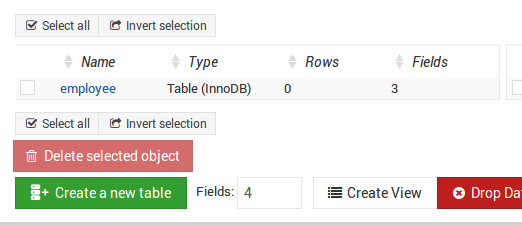
- Edit Databases


To add a new site/domain (Virtual Server) to Webmin please use the following steps.
- Login to Webmin
- Select Virtualmin
- Select the Create Virtual Server option
- Fill in the required information for the domain
- Domain name
- Description
- Administration password
- Server configuration template
- Account plan
- Administration username

For Creating a HTML page.
- Select File Manager.
- File >> Create new file.
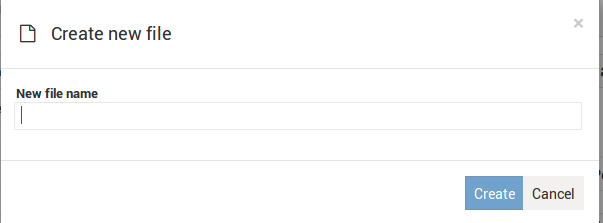
- Add the file name that you want to create. (eg : Index.html)
For Editing a file.
- Press “Left” click on the desired file that you need to edit.
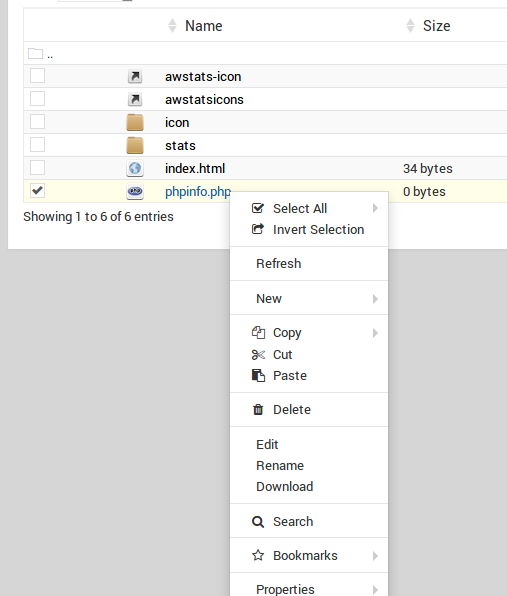

- For saving the html file.
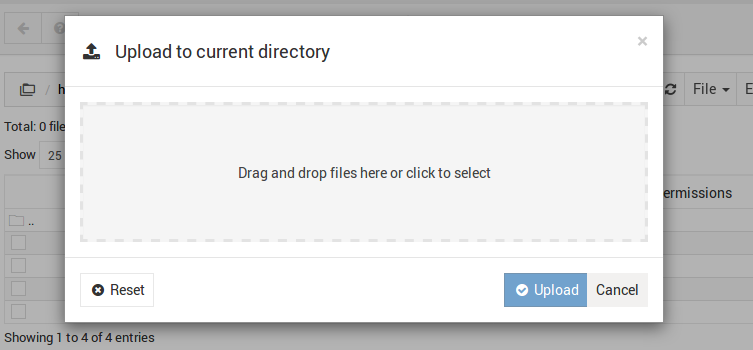
For Uploading a file from local computer.
File >> Upload to current directory
To add a new site/domain (Virtual Server) to Webmin please use the following steps.
- Login to Webmin
- Select Virtualmin
- Select the Create Virtual Server option
- Fill in the required information for the domain
- Domain name
- Description
- Administration password
- Server configuration template
- Account plan
- Administration username
Click Create Server
Each plan defines disk quotas, limits on domains, mailboxes and aliases, allowed features and allowed editing capabilities for servers.
Creating Plans::
Plans can be created by the master administrator and by resellers.
By default a newly installed Virtualmin system will have a single Default Plan, but you can create others by following the steps below :
- Open the System Settings menu, and click on Account Plans.
- Click on Add a new account plan.
- Enter a unique name for the plan, and fill in the limits as you wish. Typical plans include disk quota, domain and bandwidth limits.
- Click the Create button.
For making the new plan as default plan
Set default plan menu and click Change Default.
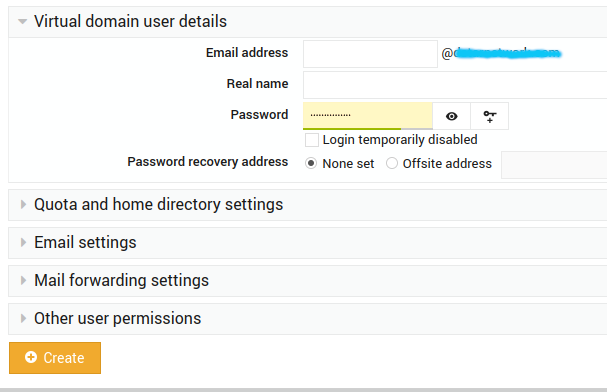
- Choose the domain you would like to add the email account to. You can do that by selecting the domain name from the drop-down box on the top-left.
- Click
Edit Users. - Click
Add a user to this server. - You can now enter the email address, full name, and password to use for this email account.
- Click
Create, and Virtualmin will add the email account to your server.
![]()
 Back to top