Redirects allow you to make a specific web page redirect to another page and display the contents of that page.
1) Click on the Redirects button on the home page.
2) To add a new Redirect
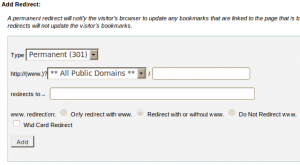
a) Select the type of redirection needed, either temporary or permanent from the combo box “Type”.
b) Enter the URL you would like to redirect in the combo box and corresponding text box “http://(www.)?”.
c) Enter the URL to which you would like to redirect users in the “redirects to” text box .(Specify a address with a protocol ie, http://, https:// or ftp:// ) .
d) Select any one of the option listed below.
Only redirect with www – Only users who type “www” in front of the page name will be redirected.
Redirect with or without www – Redirect all users regardless of whether the “www” prefix is included with the URL.
Do Not Redirect www – users who type ” www” with the URL will not be redirected.
e) Click the check box ““, to redirect all files to the same filename in the redirected URL.
f) Click the button “Add” to add the new redirects.
You may test the redirect by clicking the link under ” Directory “ in the Current Redirects.
a) Click the corresponding redirect link under remove, to remove a redirect.
A Subdomain is a domain using your main domain and a prefix name. A subdomain is a domain that is part of a larger domain, for example blog.example.com is the subdomain of example.com
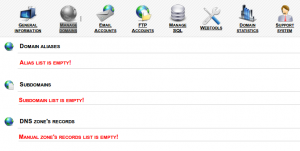
1) Click on the Subdomains button on the home page under the section “Domains”.
2) To create a subdomain
a) Enter the prefix for the subdomain in the text box “Subdomain“.
b) Select the desired main domain from the combo box.
c) Enter the home directory for the subdomain in the text box “Document Root“, you must upload the subdomains files to this directory.
d) Click the button “Create” to add the subdomain.
3) Existing subdomains are listed under the “Modify a Subdomain”.
a) Click the link under ” Document Root” that corresponds to the subdomain, for viewing the file manager.
b) To Enable or Disable Subdomain Redirection, click on the link ‘”Manage Redirection”.
Enter the url to which you would like to redirect the subdomain in the text box.
To disable the redirect, click the button “Disable Redirection“.
c) For deleting a sub domain, click the “Remove“ link corresponding to the subdomain.
A short tutorial on creating domain alias with IspCP omega. Using Domain alias you will be able to,
- Park a newsite on your main site , ie mainsite.com and newsite.com will give you same content.
- Add a new site to your control panel, ie newsite.com will have separate home directory and will display different content.
- Redirect or forward a new site, ie newsite.com can be forwarded to google.com
Login to client area of IspCP omega
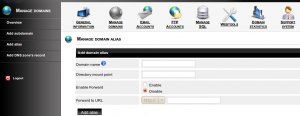
2) Click on “Add alias” on right panel
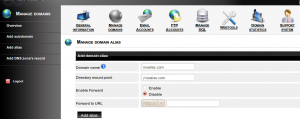
To Park a domain
* On Domain name feild -add the domain you want to park
* On Directory mount point – /
* Enable Forward – Set as Disable
Click on Add alias button on bottom to park the domain on mainsite.
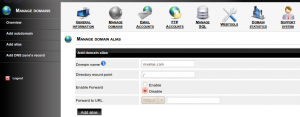
* On Domain name field – The domain you want to add
* On Directory mount point – Enter the domain name
* Enable Forward – Set as Disable
Click on Add alias button on bottom add the new domain, upload contents to /mainsite.com/newsite.com/htdocs/
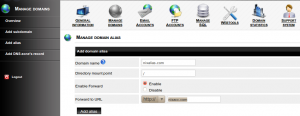
* On Domain name field -add the domain you want to park
* On Directory mount point – /
* Enable Forward – Set as Enable
* Forward to URL – Set the url to which you want to forward
Click Add alias button on bottom to add the Forwarder/Redirect


