WordPress is one of the best CMS and blog engines available today, and you can used it to power anything from your personal site. But the great thing about WordPress is that you can either get a free hosted blog or you can download the software and run it on your own server for free. Many webhosts today offer scripts that make installing WordPress as easy as possible, so here we’re going to look at how you can install WordPress in only a few steps in cPanel with Softaculous. Installing WordPress manually isn’t too hard, but with Softaculous, it’s so easy anyone could do it.
This article will give you a step by step guide on how to install WordPress from your cPanel using Softaculous.
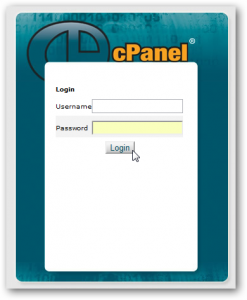
Step 1 : Login to your website’s admin panel to get started installing WordPress on your site. Usually, you can locate it at yourwebsite.com/cpanel or yourwebsite.com:2082.
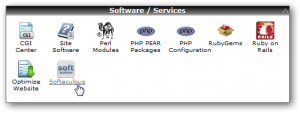
Step 2 : Scroll down to the Software/Services section, and click the Softaculous link.
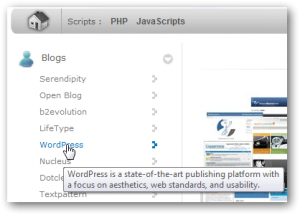
Step 3 : To install WordPress, click the WordPress link on the left-hand sidebar in Softaculous.
Step 4 : This page will give you some information about WordPress, including ratings and reviews from other users. Click the Install link above the header to start the installation.
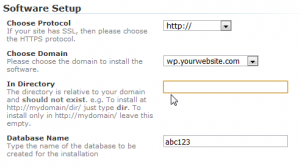
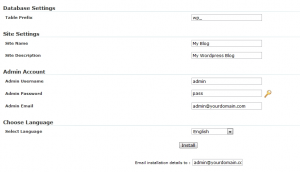
Step 5 : Now you’ll need to enter some information about your site. Softaculous will automatically fill in default settings, but you may want to customize them.
At the top of the page, you will have to select the domain where you wish to install WordPress. Select the directory to install WordPress on. By default, it will install to yourdomain.com/wp, but if you want yourdomain.com to go directly to WordPress, then leave this field blank.
Step 6 : Now enter a name and description for your site, as well as an administrative username, password, and email. If you’d like a more secure password, click the key logo and a random generated password will be entered in the field.
If you’d like a record of your site’s settings, enter your email in the bottom field under the Install button. Finally, when you’re finished, click Install.
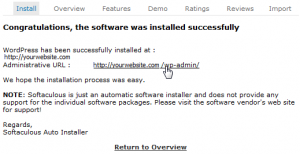
Step 7 : You will then get a confirmation page of your installation.
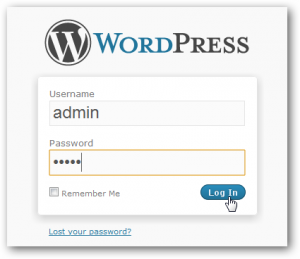
Step 8 : Click the link to go to the WordPress admin page, or simply browse to yourdomain.com/wp-login.php. You must now use the login name (username) and password that you had set during the installation.
Step 9 : The first time you login, WordPress may prompt you to change your password. Since you just choose the password for your site, this step is unnecessary. Click No Thanks, Do not remind me again to chose this notification.
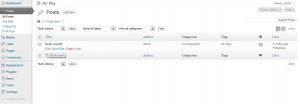
Step 10 : Now you can add posts and pictures, change the theme, and customize the settings of your WordPress site directly from the WordPress Dashboard:
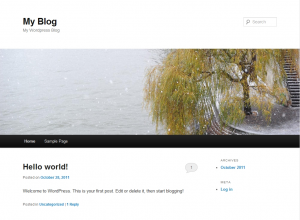
Step 11 : Here is new WordPress site after installing with Softaculous and submitting first post:


